In today’s digital world, Google Forms has become one of the most popular and versatile tools for creating surveys, quizzes, registration forms, and feedback requests. Whether you’re a business owner looking to gather customer data or a teacher creating quizzes for your students, Google Forms is the perfect tool. This step-by-step guide will walk you through how to make a Google Form, from setting it up to sharing it with others.
Why Use Google Forms?
Google Forms offers several advantages that make it the go-to tool for many:
- Ease of Use: Google Forms is incredibly user-friendly, even for those with little to no technical skills.
- Free to Use: Google Forms is a free tool available to anyone with a Google account.
- Customizable: You can choose different themes, question types, and response options.
- Data Collection: Automatically collect responses in Google Sheets, allowing for easy data analysis.
- Cloud-Based: All your forms are saved in the cloud, meaning you can access and edit them from any device.
Now, let’s dive into how you can create your own Google Form in just a few easy steps.
Step 1: Sign In to Your Google Account
To start creating a Google Form, you’ll need to log into your Google account. If you don’t have one yet, it’s easy to create a new account at Google Sign-Up.
Once logged in, navigate to Google Forms. This will bring you to the homepage where you can start creating your form.
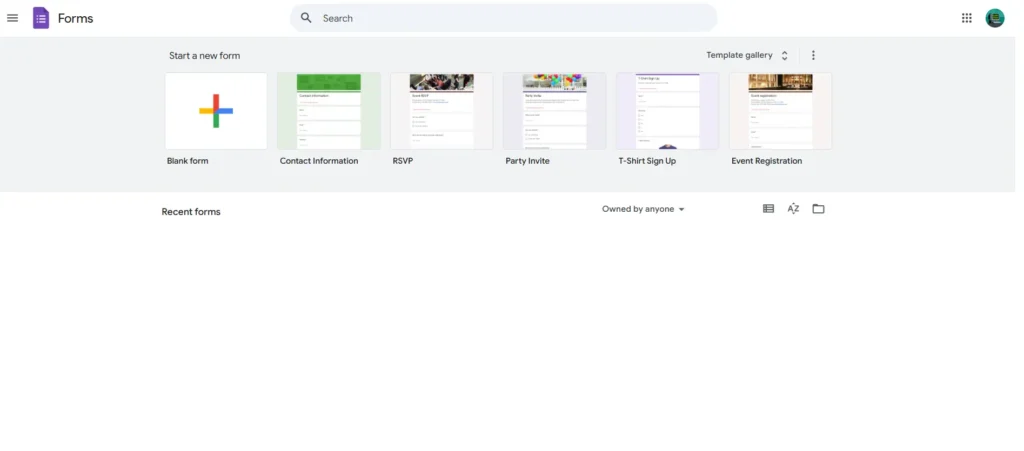
Step 2: Start a New Form
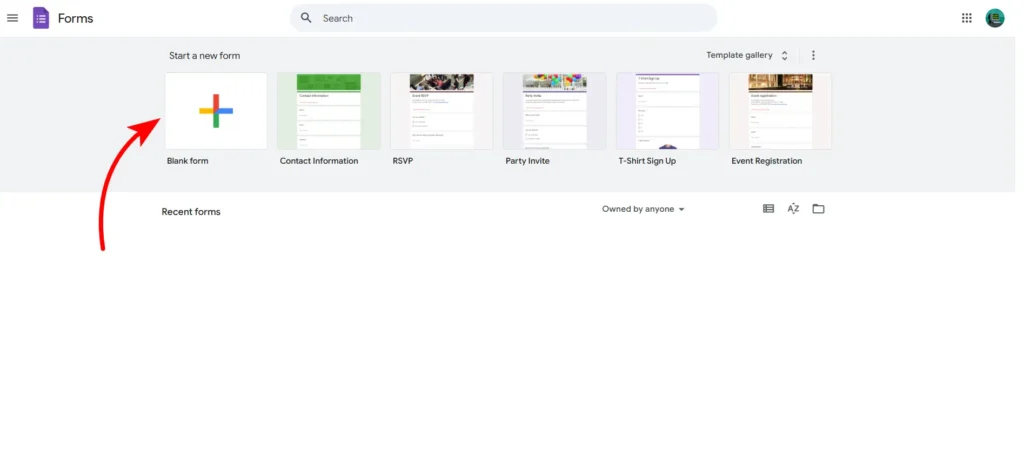
From the homepage, click the “+” icon to start a blank form or choose from a variety of pre-made templates available for different purposes (such as event registration, contact information, etc.).
- Pro Tip: Templates can save you time if you have a common form design in mind. However, starting with a blank form allows for full customization.
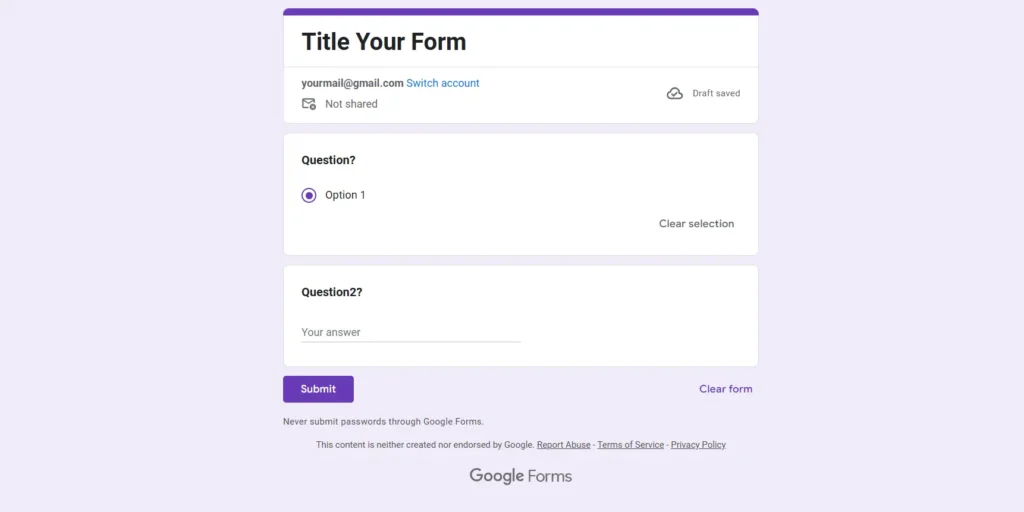
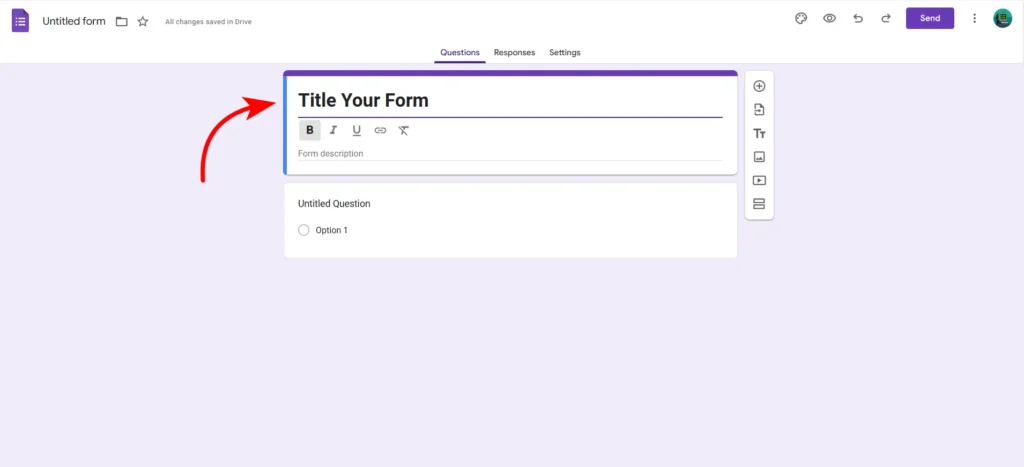
Step 3: Title Your Form
At the top of your new form, there will be a section to enter the title and description. This helps your respondents understand the purpose of the form.
- Title: Enter a descriptive title, such as “Customer Feedback” or “Event Registration.”
- Description: Provide a brief explanation of the form’s purpose. For example, “Please fill out this form to help us improve our services.”
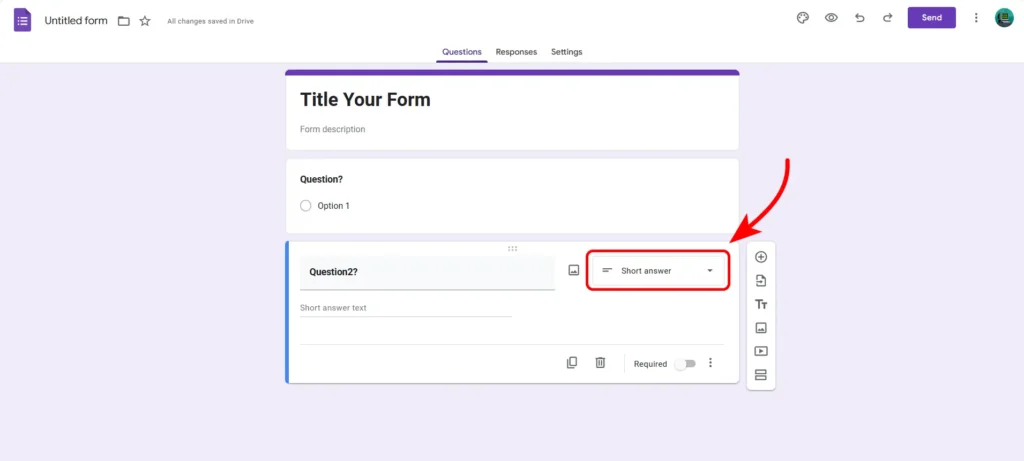
Step 4: Add Questions
The heart of your Google Form is the questions you ask. Here’s how to add and customize them:
- Click the “+” icon on the right side of the screen to add a new question.
- Select the type of question you want to ask:
- Short Answer: Ideal for brief text responses.
- Paragraph: Allows for longer, more detailed responses.
- Multiple Choice: Respondents can choose from a list of options.
- Checkboxes: Users can select more than one option.
- Dropdown: Creates a dropdown menu for respondents to pick from.
Example: For a feedback form, you might ask, “How would you rate your experience?” and offer multiple-choice options like “Excellent,” “Good,” “Average,” and “Poor.”
Step 5: Customize Your Form
One of the best features of Google Forms is its customization options. Here’s how you can make your form visually appealing:
- Change Theme: Click on the paint palette icon to adjust the theme color, font style, or add a background image.
- Add Sections: If your form is long, consider breaking it up into sections. This helps organize questions and makes the form easier to navigate.
- Insert Images or Videos: Add images or videos directly into the form by clicking the image or video icon.
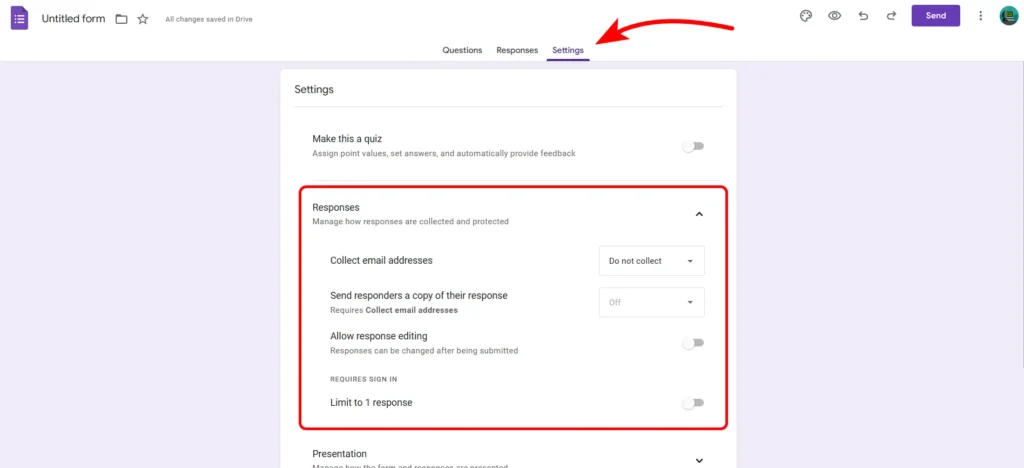
Step 6: Settings and Preferences
Before sharing your form, it’s essential to configure the settings to suit your needs:
- Collect Email Addresses: Toggle this option if you need to gather respondents’ email addresses.
- Limit to One Response: Ensure each user can submit only one response.
- Allow Editing After Submission: Let users return to edit their answers after submission if needed.
- Quizzes: If you’re creating a quiz, turn on the quiz settings to assign points and enable automatic grading.
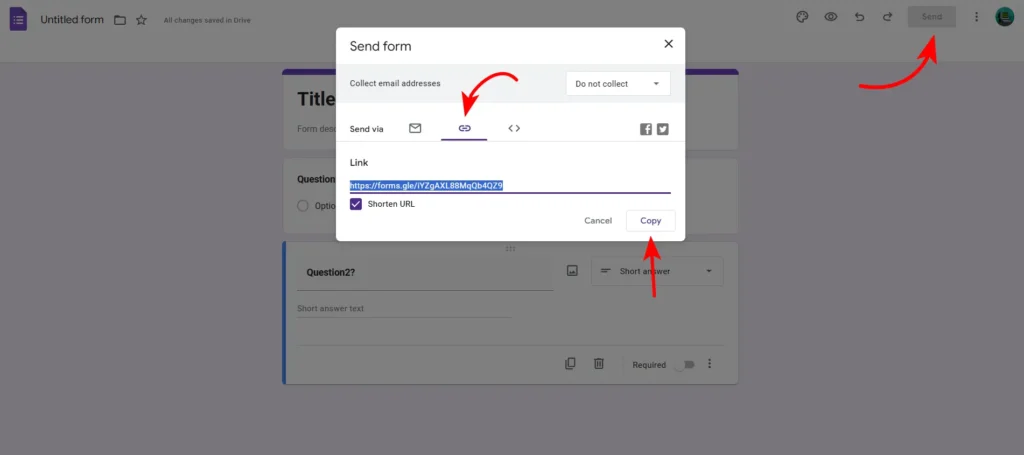
Step 7: Preview and Share Your Form
Once your form is ready, it’s time to preview and share it with your audience.
- Preview: Click the eye icon in the top-right corner to see how your form will appear to others.
- Share: Hit the “Send” button and choose how to distribute your form:
- Email: Directly email the form to your respondents.
- Link: Copy the form’s URL and share it on social media or embed it on your website.
- QR Code: Generate a QR code for physical distribution.
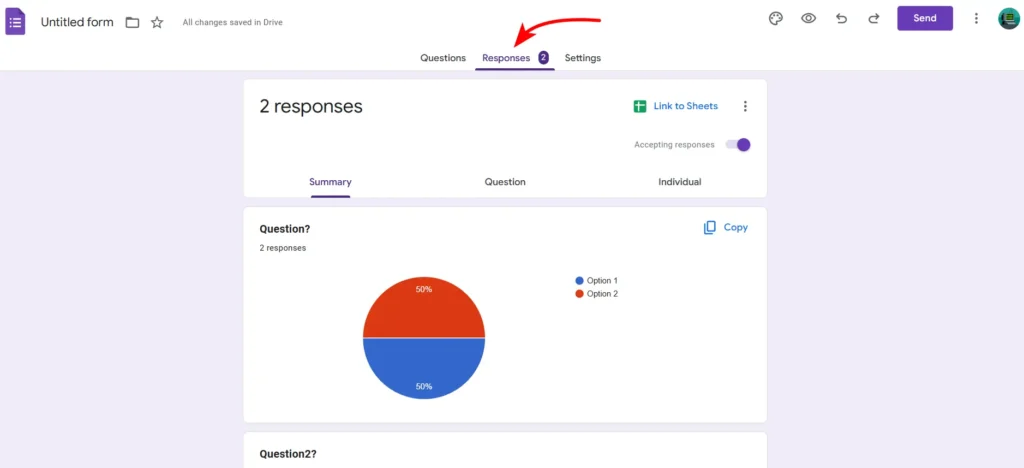
Step 8: View and Analyze Responses
After people start filling out your form, you can view their responses in two ways:
- Summary View: See an overall summary of the responses, including graphs for multiple-choice questions.
- Individual View: Examine each respondent’s answers individually.
You can also click on the green Sheets icon to view the responses in a Google Sheet, where you can sort, filter, and analyze the data more in-depth.
Creating a Google Form is a simple yet powerful way to collect information, run surveys, or create quizzes. With its user-friendly interface and endless customization options, Google Forms is a must-have tool for both personal and professional use. Follow these steps, and you’ll be making your own forms in no time!